
Kimchi bokkeumbap, literally translated as the "kimchi fried rice" makes a humble yet sumptuous meal anytime. A true statement especially when one has little mood to spend much time making a meal in the kitchen and yet a hearty and healthy meal is still in the picture. Well actually, that was me describing those once in a blue moon moments that I do get on and off. No fancy ingredients and very little time and talent needed really, I have always loved its convenience and yet never lacking quality of a wholesome meal definition. Slightly over-fermented kimchi stir fried to bring out its natural sweetness and balanced by the inclusion of rice, it is easy to be in love with this with just one single bite into it.

With a bottle of good kimchi in the fridge at all time, this fried rice is made easy with a few other additional simple ingredients. A choice of meat (bacon, ham, pork, chicken or any other preferred), some vegetables diced up and a tinge of sesame oil to finish with, collectively they do great in balancing and complementing one another. As with any other varieties of fried rice, leftover rice always makes better fried rice, having had the chance to slightly dry up overnight chilled in the refrigerator. But making fried rice is always still possible even without any leftover rice in hand. Cook some rice well ahead of time with, use a little less water than what usually is required (reduce by a 1/4 maybe), remove the rice from the cooker as soon as it's done cooking, spread them out to let the steam escapes well and leave to air dry right until cooking time. Same good result, same level of satisfaction!

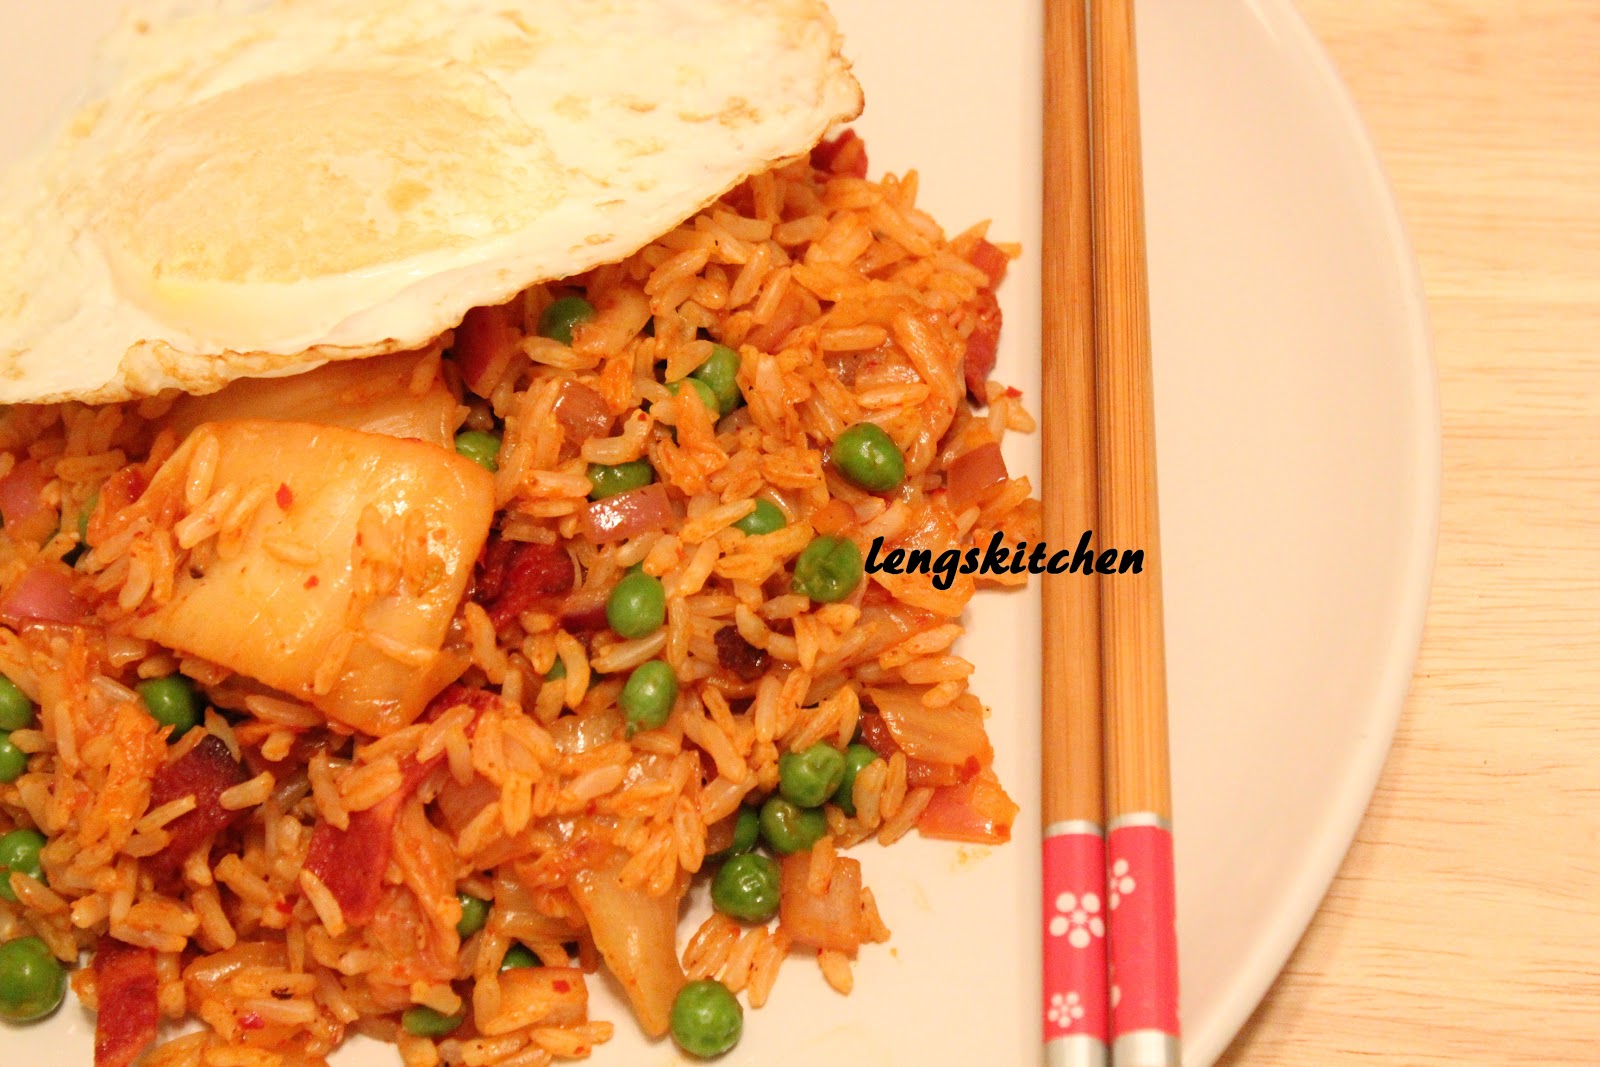
Kimchi Bokkeumbap (Kimchi Fried Rice) 김치 볶음밥
Serves 2-3
2 to 3 cups cooked brown jasmine rice (or any other types of rice)
7 slices bacon, diced
1 medium-sized red onion, diced
1½ cup kimchi - 1 cup roughly chopped, the remaining left as it is
2 tbsps gochujang (added into the bowl of kimchi and mixed well)
1½ cups frozen green peas, defrosted
1 tsp sesame oil
1 egg over easy each for a single individual serving
salt to taste
3 tbsps cooking oil
1. Place a wok over a high heat. Heat up the wok with 1 tbsp of cooking oil. Make sure the oil is well heated prior to starting. Add in the diced onions and stir fry until it gets slightly translucent. Dish up and set aside.
2. Add in the remaining cooking oil and once hot, toss in the diced bacon and fry until crisp, turning occasionally. Remove from heat and set aside.
3. Leaving about 1 tbsp of oil in the work, wipe off the rest with a paper towel. Bring in the rice next. Stir regularly to make sure that the rice is well heated right to the core, breaking down any clumps of rice as it goes.
4. Mix in the bowl of kimchi with the gochujang added in, and continue to stir fry until the kimchi is well incorporated into the rice.
5. Add in the green peas and reintroduce the onion and bacon into the wok. At this point, you may have to stir a bit more constantly to avoid the rice from getting stuck and burnt at the bottom of the work. Stir-fry for another minute or so to mix all the ingredients really well.
6. Finish with drizzling in the sesame oil and adding in a sprinkle or two of salt to taste.
7. Portion out individually and top each serving with an egg over easy.


No comments:
Post a Comment